Hello all!
Writing this short blog post to show some images of a recent project in my own backyard.
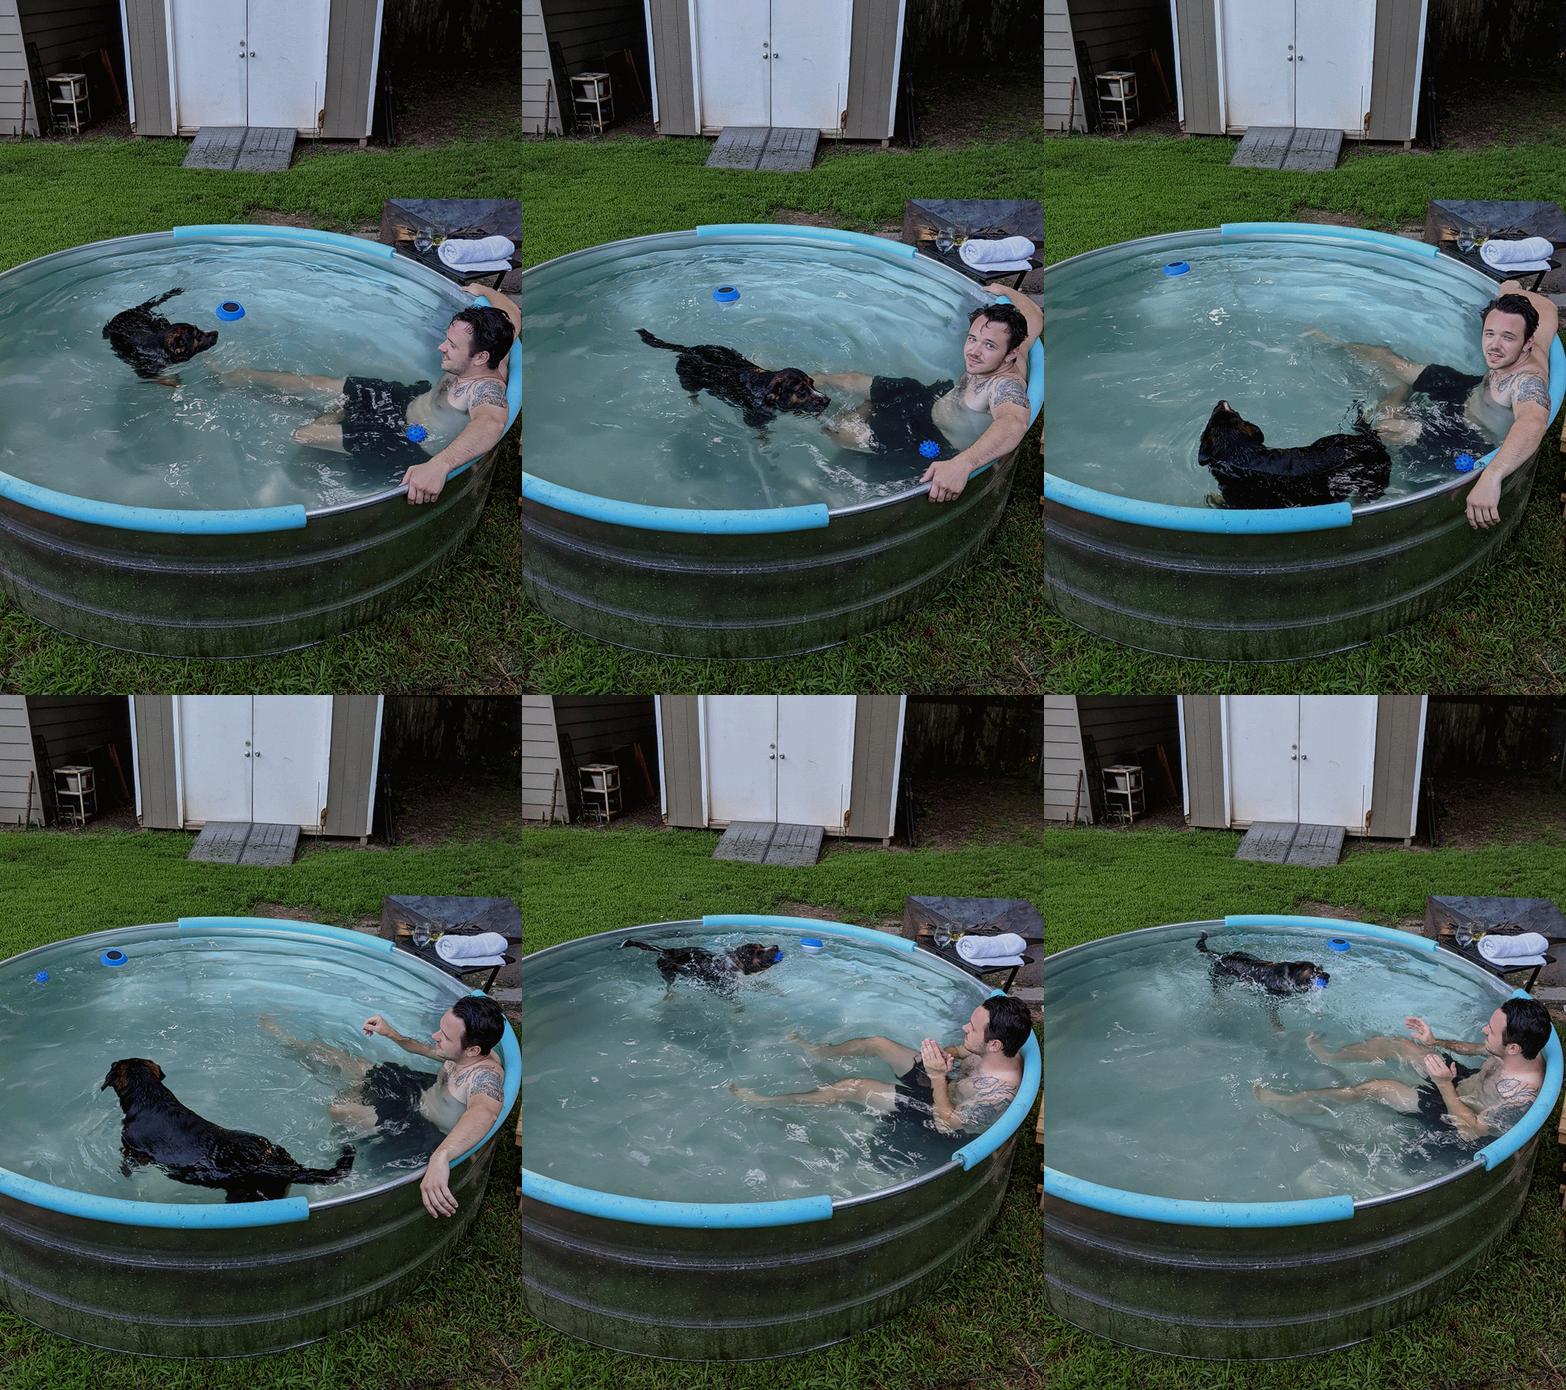
I’ve been seeing a lot about ‘stock tank pools’ on instagram and other social media, and decided to dive in. See finished photos below and read a short writeup with process photos below that.
FINISHED PHOTOS:


PROCESS:
Initially the idea was only for a cool spot to beat the heat during the rough Louisiana summers. But, as winter approached, I rigged the tank up with a lid and propane fired tankless water heater (see image 07 in gallery above) and have been using it as a hot tub! I’m very happy with how the project turned out and have enjoyed the process along the way.
An aside - big shout out to my best good buddy Zachary Coco for his help on the next few steps: digging the pad for the tank’s final location and building the deck.
I started with a simple 8’-0” stock tank (from Tractor Supply) and drilled a few holes in it to set that up with an above ground pool pump (by Intex). All of this set up was based on following a tutorial online by Stock Tank Pools. After setting it’s final placement, we went ahead and filled the tub for a few days to kill the grass underneath. After we enjoyed it for a few days, then drained it and I went to work setting it up in its final location.
BUILD PROCESS:
First, dig out the soils under the tank. (image 02 below) I dug the diameter of the tank +/- a few inches, and only about 2” deep. Just wanted to loosen the soil a bit and get any organic matter from the top layer. Then, we filled the hole back up with sand (image 03 below) then packed and levelled the new ‘pad’ for the tank. Once that’s done we did the same process placing deck blocks at the post locations. Then simply framed it all up with 2x8 joists (image 04 and 05 below), and laid 5/4” deck board (image 06)! The whole tank pad and deck build only took about 2 days over a weekend.
After this work was done, we set the pool up in its final location and reinstalled the pump, etc. After getting our enjoyment out of it for the summer months, I built a wooden lid (in 4 pieces) to keep out debris and let it sit for the winter. After seeing the lid finished, though, I realized how spa-like the tank looked. I remembered seeing others online who set their tanks up to be hot tubs, and I thought… “Well, I’ve come this far!” and ordered the parts to add a hot water heater and pump to the tank. The lid has done a great job of keeping the heat in and after a few trial runs I’ve dialed in the heater to get the water just right.
Overall, very happy with the setup and was such a fun build! Will likely end up moving our fire pit a few feet away, but that’s where it was before the build and where it’ll remain until I get around to moving it.
Check out this resource page (StockTankPools.net) that has ALL the info you need to get your own stock tank set up.
PROCESS PHOTOS:


Lagniappe:
A little gif of Ava and I enjoying the pool on its initial set up!

